When you’re pouring your heart into a custom motorcycle build, every choice feels personal. The paint, the stance, the exhaust tone—each decision says something about the kind of rider you are. But one component riders often overlook until the last minute is the motorcycle gauge. Whether it’s a speedometer, tachometer, or a clean combination of both, the right gauge doesn’t just tell you what’s happening under the tank—it becomes part of the bike’s soul.
Choosing the perfect gauge is about more than just picking something that looks cool. It’s about balancing function, style, compatibility, and the way your bike communicates with you while you’re out on the road. Let’s break it down in a simple, approachable way, using real-world examples and clear explanations so you can pick a gauge with confidence.
Understanding What Gauges Actually Do
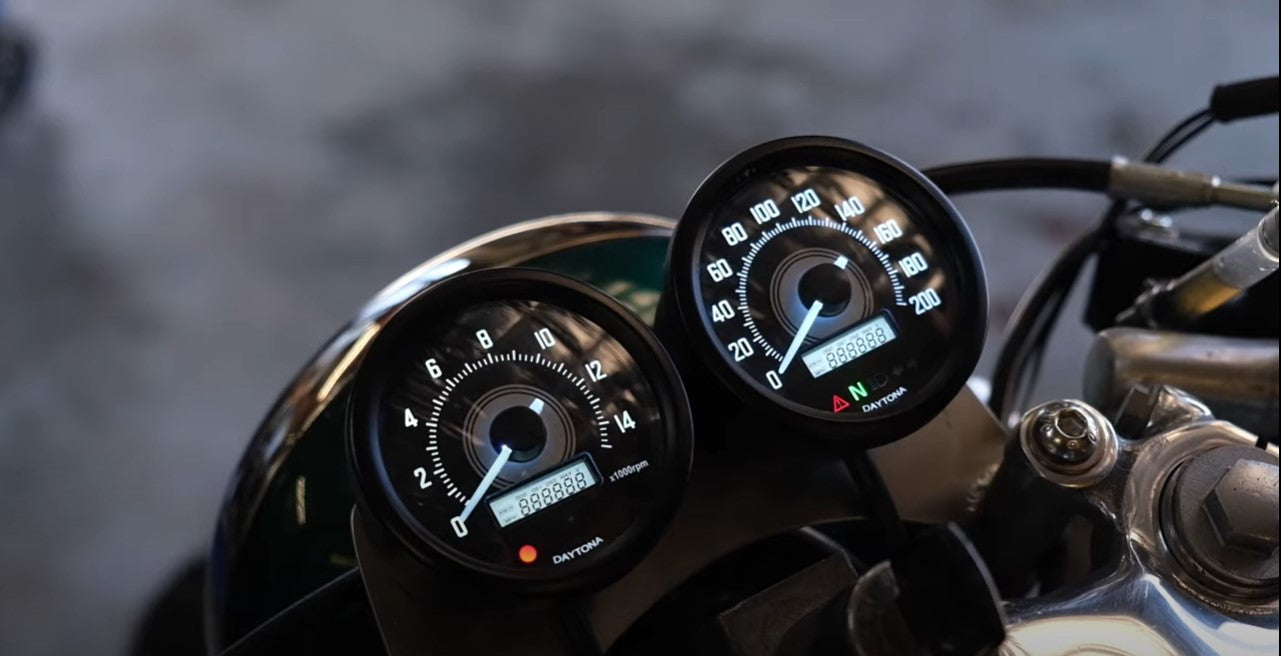
All motorcycles require a means to convey essential information to the rider. At the bare minimum, that’s your speed and engine revolutions per minute (RPM). More modern setups might include fuel levels, indicator lights, trip meters, and even diagnostic displays.
A simple speedometer is the most common choice, especially on café racers, bobbers, and minimalist builds. For riders who tune their bikes or prefer spirited riding, a tachometer can be just as important. Knowing when your engine is approaching its redline helps you shift smoothly, protect your engine, and optimize your setup.
Think of it like choosing the dashboard layout in a custom car build or selecting the right data display for a piece of industrial equipment. You’re aiming for the sweet spot where information is clear, reliable, and placed exactly where you need it.
Matching Your Gauge to Your Build Style
One big factor in choosing a gauge is the style of bike you’re building.
Café Racers:
These bikes tend to favor small, minimalistic gauges. A tiny 48 mm or 60 mm unit keeps the cockpit clean and uncluttered, matching the stripped-back aesthetic. Many builders look for mechanical simplicity and sleek housings that don’t draw too much attention.
Scramblers and Trackers:
Here, durability and readability matter. A medium-sized gauge with bright backlighting is ideal so you can check your stats even on dusty trails or at night. Weather resistance is a plus, as scramblers often see rougher conditions than city cruisers.
Bobbers and Choppers:
These bikes typically require something unique—sometimes offset-mounted, sometimes tucked to the side of the tank. Builders choose gauges based on style just as much as function. Some prefer analog dials with retro-inspired needles, while others love modern digital readouts that contrast with the old-school lines of the bike.
If you imagine a carpenter selecting the right tool belt or a pilot choosing an instrument panel layout, you’ll realize the same principle applies here: form follows function, but personality influences both.
Choosing Between Analog, Digital, or Hybrid Designs
This is where riders often hesitate because the options can feel overwhelming. But thinking about how you ride helps narrow things down quickly.
Analog Gauges:
These have the classic spinning needle. They’re perfect for vintage or retro-inspired builds. Their charm lies in their simplicity—they feel alive, and many riders enjoy watching the needle rise as the engine revs.
Digital Gauges:
Clean, modern, and incredibly precise. Digital readouts are easy to read at a glance, especially in low-light conditions. They’re often favored on custom street bikes or builds inspired by modern naked sports machines.
Hybrid Gauges:
These give you the best of both worlds—analog RPM with digital speed, or the reverse. They’re great when you want some modern features but still want part of that timeless analog look.
Choosing between these options is similar to picking a watch. Some people love the feel of a mechanical ticking movement, while others swear by a smart digital display. Both are valid—it just depends on your taste and needs.
The Importance of Compatibility and Installation
This is the point where many builders encounter difficulties. It’s not enough for a gauge to look good—it has to work seamlessly with your motorcycle’s electrical system. Different bikes use different signal types, and mismatching your gauge can lead to inaccurate readings or a frustrating installation.
Mechanical gauges use physical cables and gears connected to your wheel or engine. They’re common on older bikes and provide reliable performance, but they require the right drive connections.
Electronic gauges, on the other hand, rely on sensors and electrical signals. They’re cleaner, more modern, and easier to mount in tight spaces.
Before buying, always look for compatibility notes such as:
- Sensor type
- Signal input (mechanical or electronic)
- Wheel size settings
- Voltage compatibility (usually 12V)
- Indicator light support
It’s similar to installing monitoring equipment in manufacturing or configuring a new display for a marine navigation system—you need the wiring, the readings, and the signals to match perfectly.
Placement and Mounting Options
Where you mount your gauge changes the entire feel of your cockpit. A centered, handlebar-mounted gauge gives the classic look you see on factory bikes. Side-mounted gauges add a custom touch but may require extra fabrication.
When you think of how a musician arranges pedals on a pedalboard or how an architect designs a control panel for a smart home, the idea is the same: everything should be accessible, comfortable, and intuitive.
If your gauge includes backlighting, make sure the angle keeps glare away at night. If you ride often in daylight, consider how the sun’s light might affect the display.
Choosing Quality That Lasts
Before making your final pick, consider the environments in which you ride. Rain? Dusty roads? Coastal air? Moisture and vibration can slowly destroy poorly built gauges. Look for:
- IP ratings for dust and water resistance
- Vibration-resistant housings
- Clear, scratch-resistant lenses
- Sturdy metal construction
When you’re riding, your gauge is exposed to the same forces as your hands and handlebars—sometimes more. A rugged, well-built gauge doesn’t just look good; it protects your safety and your investment.
Where to Explore Reliable Gauge Options
Once you’ve narrowed down the style, compatibility, and features you want, you can explore gauge options from trusted custom-motorcycle suppliers. A helpful starting point is browsing products like those found at Purposebuiltmoto.com/collections/motorcycle-gauges,
where you can see different sizes, combinations, and designs to match various riding styles.
Final Thoughts
Choosing the right gauge for your custom motorcycle build is about striking a balance between function and personal expression. Your gauge is more than a tool—it’s a part of your riding experience. Take the time to think about what your bike needs, what information matters most to you, and how you want your cockpit to feel.
Understanding measurement, instrumentation, and how different components interact—concepts also found in fields like instrumentation—helps you make practical choices while keeping your build uniquely yours.
With the right gauge, your motorcycle becomes not just a machine you ride, but a machine that speaks to you—clearly, reliably, and in your style.